This guide will walk you through the basics on how import and visualize Azira data in ArcGIS Pro
Background
Azira flat files that contain latitude and longitude data can be exported as geodatabases (.gdb). are compressed into a gzipped format (.gz) for faster downloading of the data. This tool is important because tab separated files cannot be simply loaded into ArcGIS Pro. To receive this file type, just check 'Receive ESRI-compatible output' when running a report in Vista Data Explorer.

Loading Geodatabases into ArcGIS Pro
The geodatabase can be uploaded to ArcGIS Pro easily.
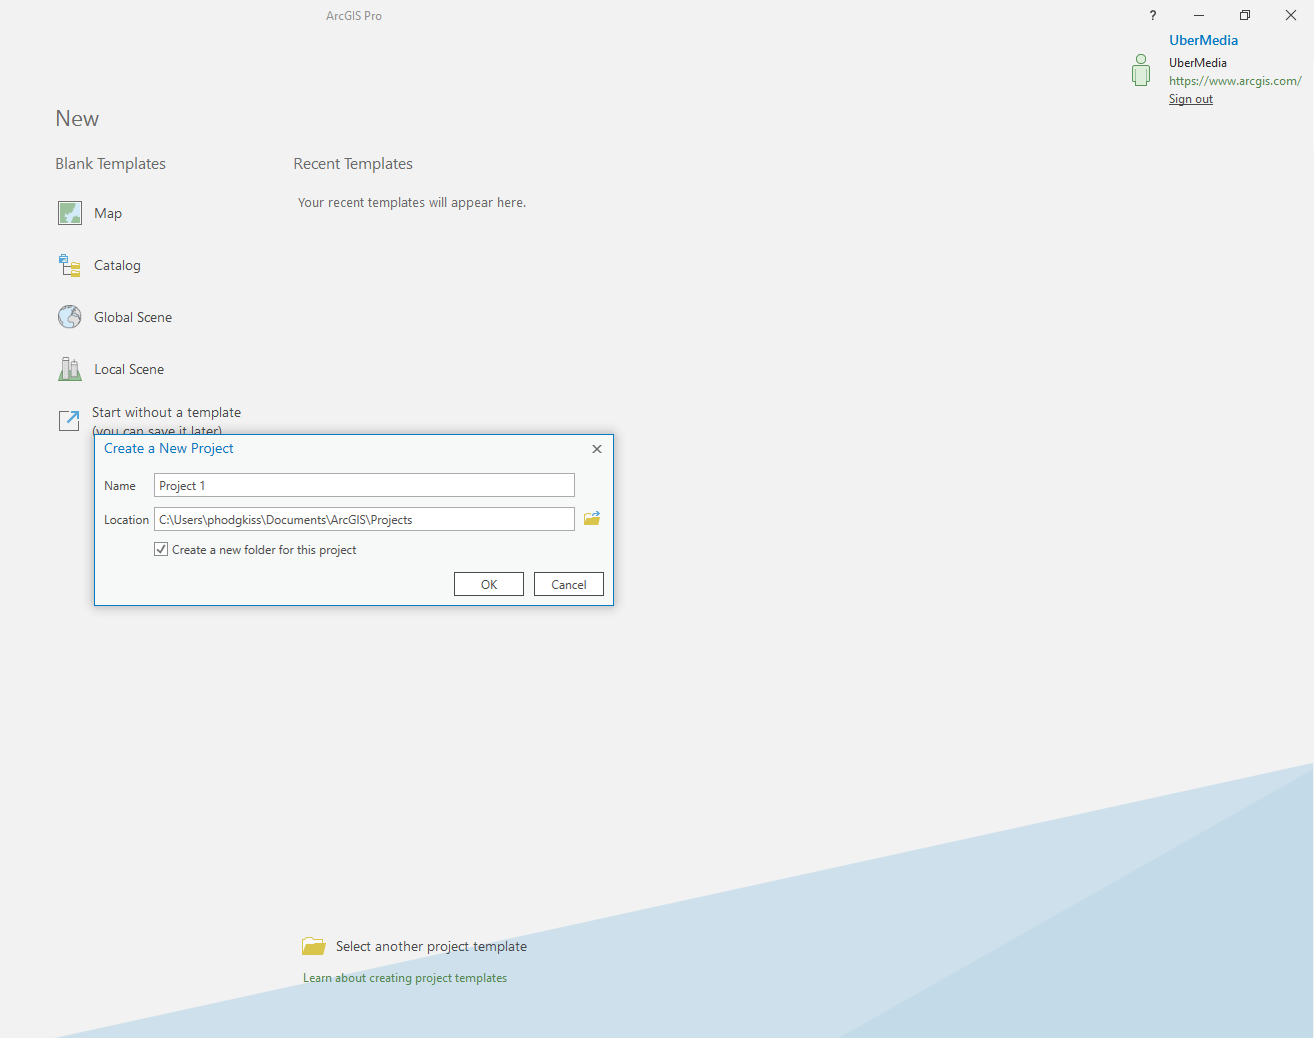
1. Create a new project with a map.

2. Decompress the geodatabase file before continuing. For information on how to do that, reference our FAQ page.
-png-1.png)
3. Click the 'View' tab at the top of the screen and and click 'Catalog Pane' just below. The Catalog Pane should appear on the right side of the screen.
-png-1.png?width=688&height=372&name=Screenshot%20(14)-png-1.png)
4. From here, the next step is to point ArcGIS Pro to the geodatabase file. Right click 'Databases' in the Catalog Pane and click 'Add Database'. A window will pop up. Navigate to the unzipped geodatabase and hit 'OK'.

-png-1.png?width=688&height=372&name=Screenshot%20(8)-png-1.png)
5. The geodatabase should now appear in the 'Databases' folder. Next, click the drop-down arrow next to the name of the geodatabase. The reports within the geodatabase should be displayed. CEL/CDL Distance, Optimal GeoSpace, PathingX and Pin Reports are shown within the geodatabase in this example. The final step is to simply select the reports you wish to be displayed and then click and drag them onto the map. The reports will now be displayed on the map. You can filter the reports using the boxes under the 'Contents' pane next to each report name.


For more information on how to use spatial data in ArcGIS Pro, please reference the pages here on ESRI's website :
Insights provided by Azira in this study are aggregated and de-identified, not tied to any single device or individual. Azira adheres to GDPR and CCPA and has been certified for privacy compliance by Verasafe, an independent third party.
